Difference between revisions of "ITSV-1"
From Zenitel Wiki
(→Getting Started) |
|||
| Line 1: | Line 1: | ||
| + | THIS PAGE IS UNDER CONSTRUCTION | ||
| + | |||
{{APS}} | {{APS}} | ||
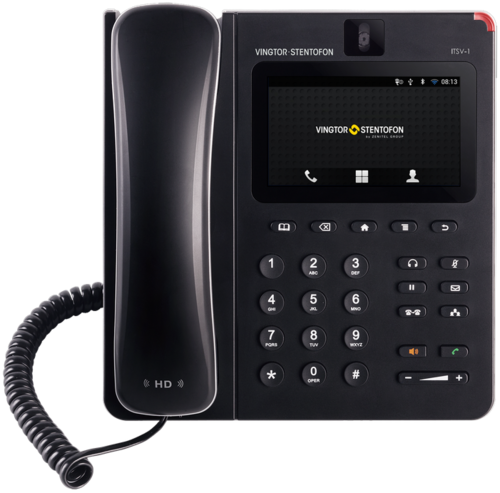
[[Image:ITSV-1.png|thumb|500px|IP Phone ITSV-1]] | [[Image:ITSV-1.png|thumb|500px|IP Phone ITSV-1]] | ||
== Getting Started == | == Getting Started == | ||
| − | [[File:ITSV Setup 1.png]] | + | [[File:ITSV Setup 1.png|thumb|500px|left]] |
| + | <br style="clear:both;" /> | ||
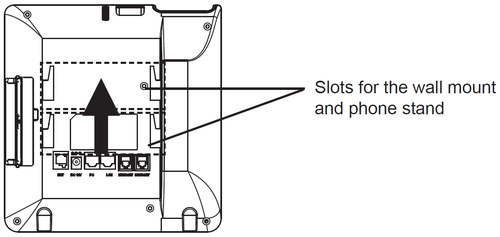
| + | Installing the Phone with Wall Mount: | ||
| + | # Attach the wall mount to the slots on the back of the phone. | ||
| + | # Attach the phone to the wall via the wall mount hole. | ||
| + | # Pull out the tab from the handset cradle (see figure below). | ||
| + | # Rotate the tab and plug it back into the slot with the extension up to hold the handset while the phone is mounted on the wall. | ||
| + | [[File:ITSV Setup 2.png|thumb|left|500px]] | ||
| + | <br style="clear:both;" /> | ||
* [[IP Desk Connections|Connecting the Intercom station]] | * [[IP Desk Connections|Connecting the Intercom station]] | ||
Revision as of 16:51, 1 March 2019
THIS PAGE IS UNDER CONSTRUCTION
Contents
Getting Started
Installing the Phone with Wall Mount:
- Attach the wall mount to the slots on the back of the phone.
- Attach the phone to the wall via the wall mount hole.
- Pull out the tab from the handset cradle (see figure below).
- Rotate the tab and plug it back into the slot with the extension up to hold the handset while the phone is mounted on the wall.
Configuration
The IP phone can only operate in SIP mode. Choose one of the links below depending on what kind of server the station should register to.
Restore Factory Defaults and Software Upgrade
- Restore factory default settings
- Upgrade via the station web interface
- Upgrade using the IMT tool
- Automatic Software Upgrade (SIP mode only)


