TMIS Dimensions & Mounting Instructions: Difference between revisions
From Zenitel Wiki
No edit summary |
|||
| Line 37: | Line 37: | ||
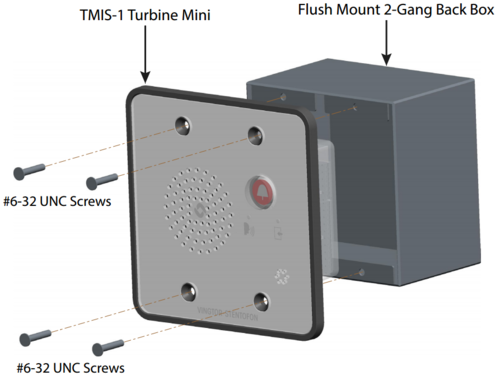
==Flush Mounting Procedure== | ==Flush Mounting Procedure== | ||
[[File:TMIS Flush Mounting.PNG]] | [[File:TMIS Flush Mounting.PNG|500px]] | ||
:1. Mount the 2-gang back box into the wall | :1. Mount the 2-gang back box into the wall | ||
Revision as of 08:19, 14 October 2016
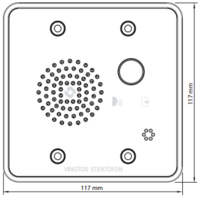
| Dimensions (WxHxD) | Weight | |
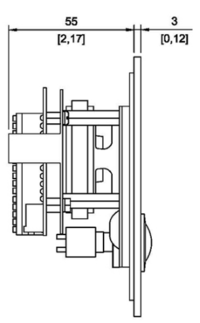
| TMIS-1 | 117 x 117 x 39 mm | 0.3 kg |
| TMIS-1 after flushmount | 117 x 117 x 5.5 mm | |
| TMIS-1 with onwall box | 117 x 117 x 69.5 mm | |
| TMIS-2 | 114 x 147 x 58 mm | 0.5 kg |
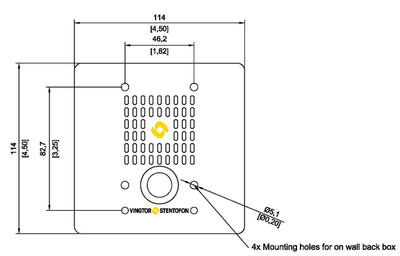
TMIS Station Dimensions
Onwall Surface Mounting
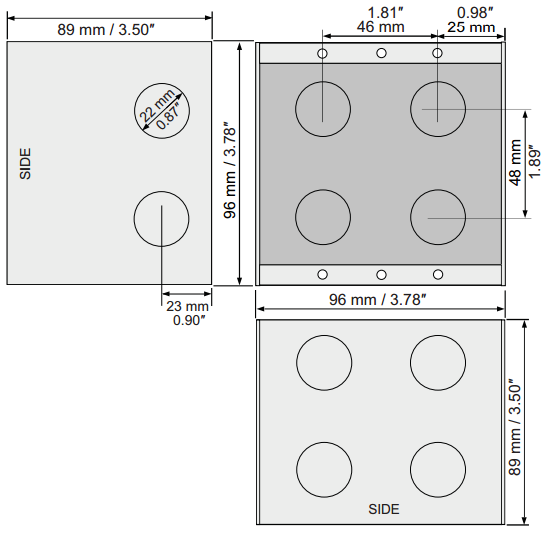
On-Wall Surface Mount Back Box - TA-12 or TA-13 to be used.
Flush Mounting
Flush Mount 2-Gang Back Box - TA-2 or TA-3 to be used
Note! It is recommended to utilize back boxes with weep holes at the bottom
Flush Mounting Procedure
- 1. Mount the 2-gang back box into the wall
- –Plug the Ethernet cable into the RJ-45 port on the station
- 2. Fasten the TMIS-x intercom to the back box with four #6-32 UNC countersunk-head screws

