IP Flush Master and Headset: Difference between revisions
From Zenitel Wiki
No edit summary |
No edit summary |
||
| Line 8: | Line 8: | ||
The headset will automatically be detected when connected, and a headset icon will appear in the top right corner of the display. The microphone and loudspeaker on the IP Flush Master panel will be disabled, and the audio routed to the headset. | The headset will automatically be detected when connected, and a headset icon will appear in the top right corner of the display. The microphone and loudspeaker on the IP Flush Master panel will be disabled, and the audio routed to the headset. | ||
== Headset connections == | |||
[[File:IP Master Board 8.PNG|left|thumb|200px|J8]] | [[File:IP Master Board 8.PNG|left|thumb|200px|J8]] | ||
*Pin 7 Mic+ | *Pin 7 Mic+ | ||
Revision as of 13:04, 6 January 2015
This article describes how to connect headset to the IP Flush Master - 1008031000 or to the IP Master Station Kit - 1008093000.
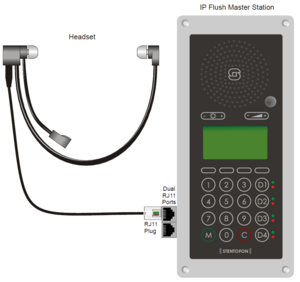
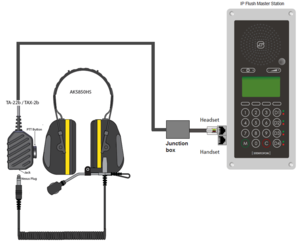
The IP Flush Master station is fit with an RJ11 connector for headset connection. Insert the RJ11 plug of the headset into the upper port of the dual RJ11 ports on the lower left of the station. A regular PC style headset can be used. If the headset is not equipped with an RJ11 connector, an adapter must be made locally.
The headset will automatically be detected when connected, and a headset icon will appear in the top right corner of the display. The microphone and loudspeaker on the IP Flush Master panel will be disabled, and the audio routed to the headset.
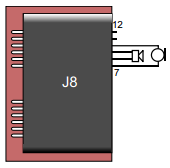
Headset connections
- Pin 7 Mic+
- Pin 8 Spk+
- Pin 9 Spk-
- Pin 10 Mic-
- Pin 11 PTT Ground
- Pin 12 PTT (Not currently supported by SW)


