Ascom IP-DECT: Difference between revisions
From Zenitel Wiki
No edit summary |
No edit summary |
||
| Line 1: | Line 1: | ||
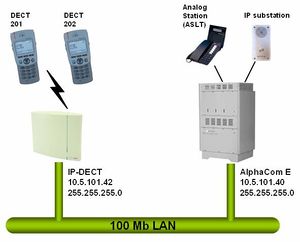
[[Image:Ascom configuration example.jpg|thumb|Configuration example]] | [[Image:Ascom configuration example.jpg|thumb|Configuration example]] | ||
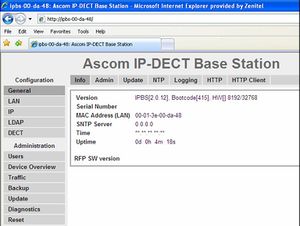
[[Image:Ascom log on.jpg]] | [[Image:Ascom log on.jpg|thumb|Ascom Webserver - Log on]] | ||
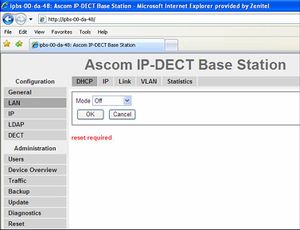
[[Image:Ascom DHCP off.jpg]] | [[Image:Ascom DHCP off.jpg|thumb|Switch DHCP off]] | ||
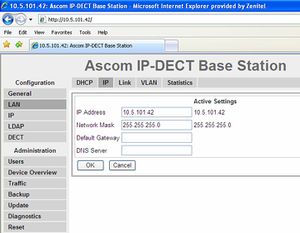
[[Image:Ascom set IP address.jpg]] | [[Image:Ascom set IP address.jpg|thumb|Set IP address]] | ||
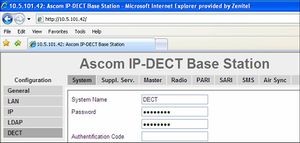
[[Image:Ascom Base setup.jpg]] | [[Image:Ascom Base setup.jpg|thumb|Setup of Dect base]] | ||
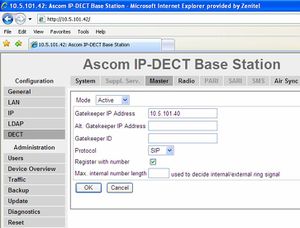
[[Image:Ascom Master base.jpg]] | [[Image:Ascom Master base.jpg|thumb|Configure master base]] | ||
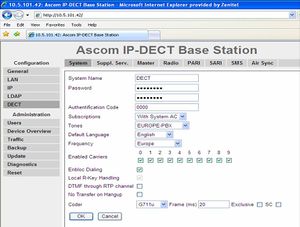
[[Image:Ascom Base setup2.jpg]] | [[Image:Ascom Base setup2.jpg|thumb|Base setup]] | ||
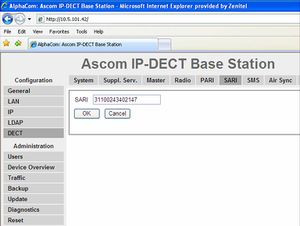
[[Image:Ascom base SARI.jpg]] | [[Image:Ascom base SARI.jpg|thumb|Enter SARI]] | ||
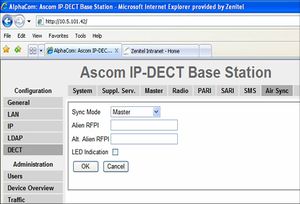
[[Image:Ascom Base sync mode.jpg]] | [[Image:Ascom Base sync mode.jpg|thumb|Set base sync mode]] | ||
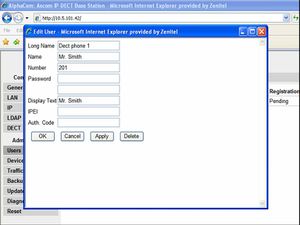
[[Image:Ascom new user.jpg]] | [[Image:Ascom new user.jpg|thumb|Add a new user]] | ||
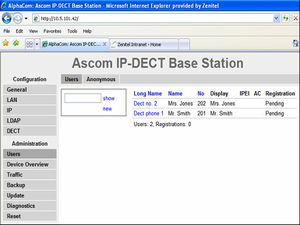
[[Image:Ascom all users.jpg]] | [[Image:Ascom all users.jpg|thumb|Show all users]] | ||
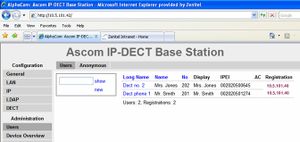
[[Image:Ascom registration.jpg]] | [[Image:Ascom registration.jpg|thumb|Successful registration]] | ||
Revision as of 14:47, 25 September 2007

