ICX-AlphaCom Core in VirtualBox: Difference between revisions
From Zenitel Wiki
| Line 143: | Line 143: | ||
[[Category: ICX-AlphaCom Platform]] | [[Category: ICX-AlphaCom Platform]] | ||
[[Category: ICX-Core]] | |||
Revision as of 14:55, 2 June 2022
This article describes how to install ICX-Core in a VirtualBox environment.
Prerequisites
- Virtual machine: VirtualBox (version 6.0 is used in this guide): https://www.oracle.com/virtualization/technologies/vm/downloads/virtualbox-downloads.html
- Operating System: Ubuntu 18.04.x LTS Server (Mandatory): http://releases.ubuntu.com/18.04/
- File transfer software: WinSCP (version 5.15.3 used in this guide): WinSCP https://winscp.net/eng/index.php
- ICX-Core software: ICX System

|
The virtual machine must have an internet connection and valid DNS server during the installation process |
VirtualBox
After downloading and installing VirtualBox, run the software and create the virtual machine by clicking "New":
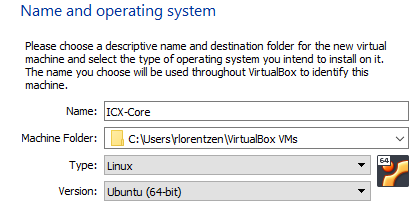
Give your machine a name, set Type = Linux, and set Version = Ubuntu:
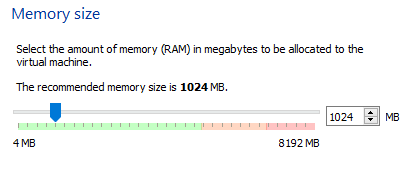
The memory must be at least 1GB:
Create the virtual HDD:
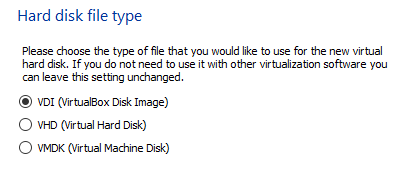
Select the HDD type:
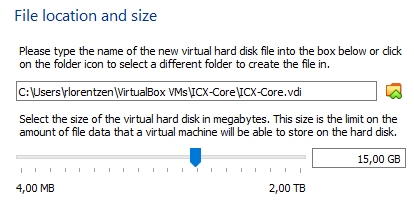
Physical HDD storage:
The HDD must be minimum 15GB:
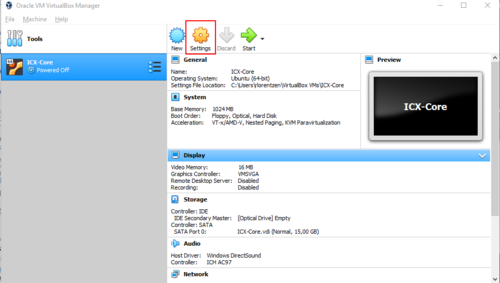
After the creation of the virtual machine is finished, select and set some Settings before starting:
In Storage, browse for the OS .iso file (Ubuntu 18.04.x LTS Server) and mount it:
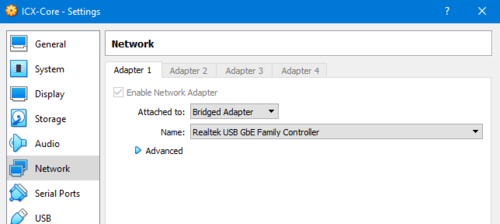
Set up the Network connection:
- Choose Bridged Adapter, and select which interface to use for the ICX-Core
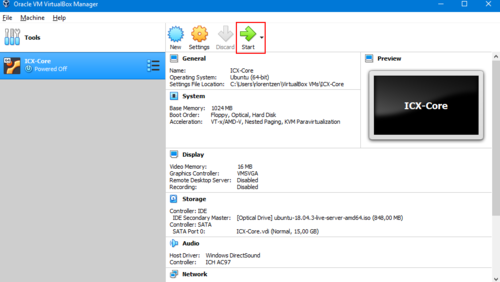
Now Start the machine:
Ubuntu
The Ubuntu installation will automatically launch after Start in the previous section. Choose your language:
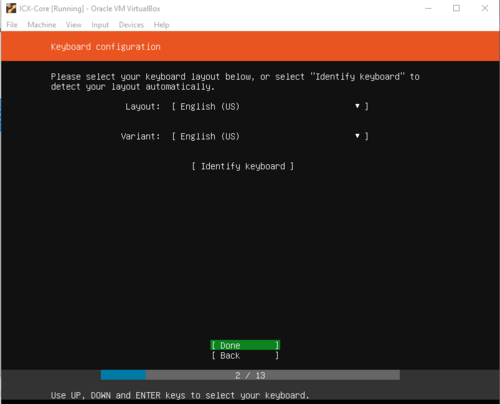
Define your keyboard:
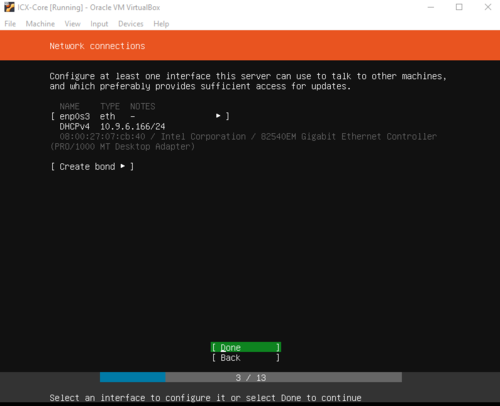
Confirm the network adapter:
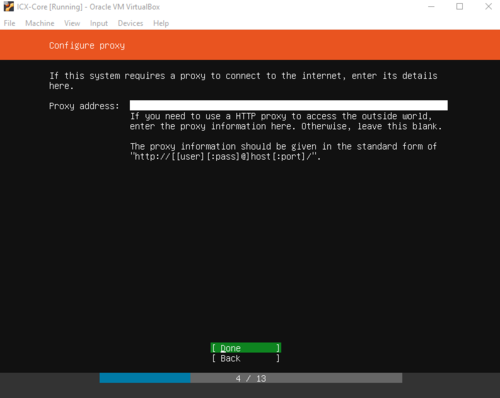
Enter Proxy if needed:
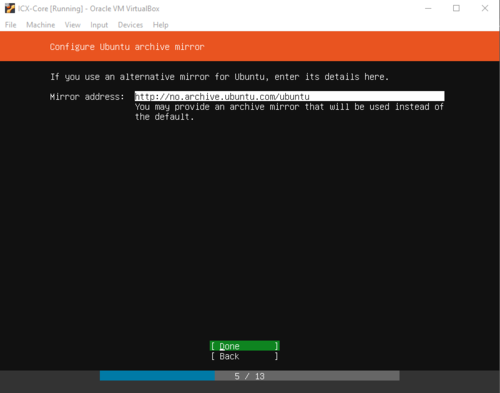
Confirm mirror:
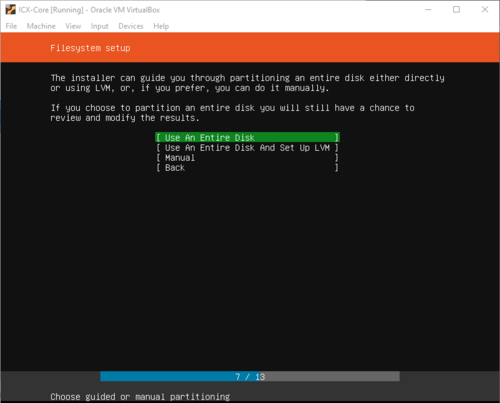
Filesystem:
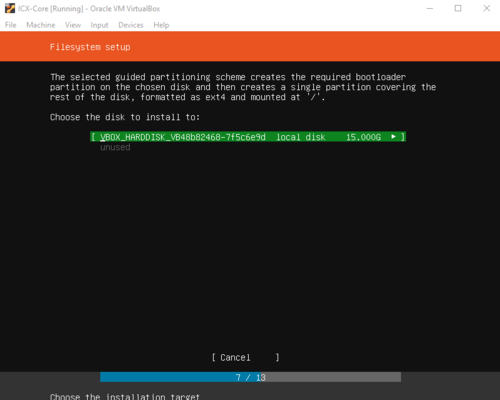
Select HDD:
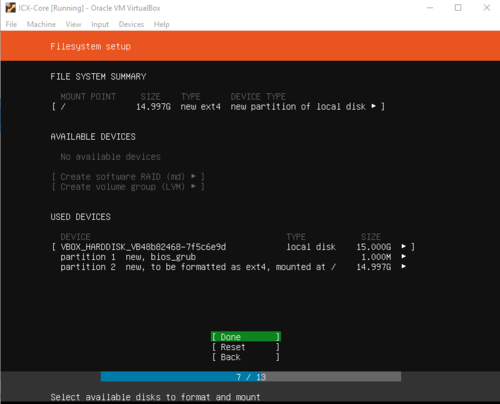
Confirm partition:
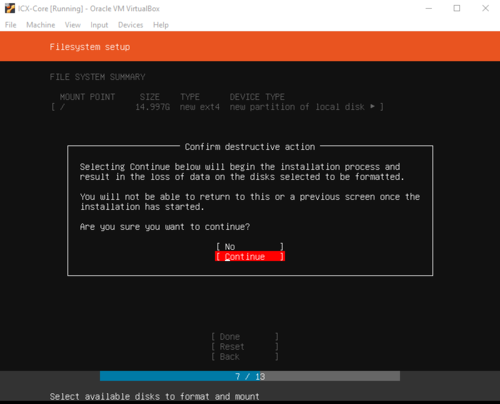
Confirm installation:
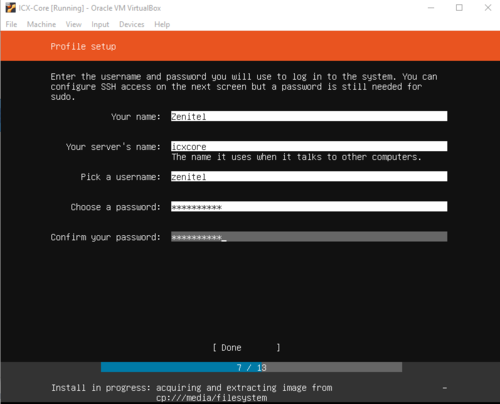
Enter profile and credentials. VERY important to not forget this. Write it down!:
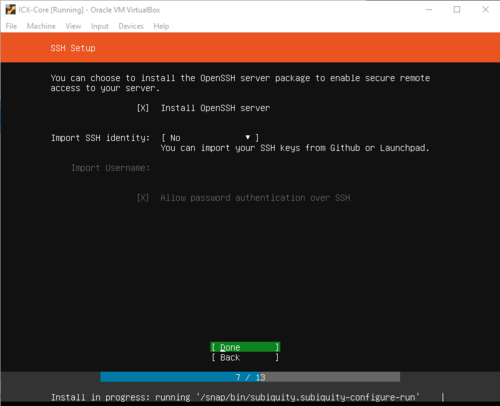
Select Install OpenSSH server:
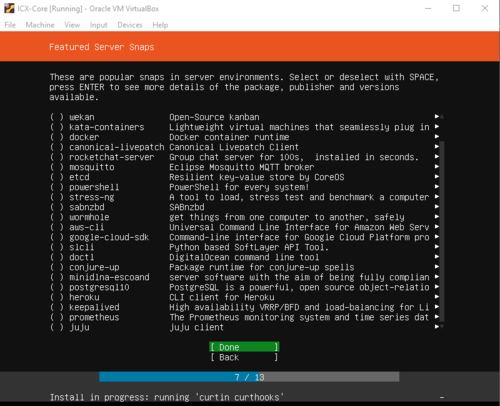
Skip:
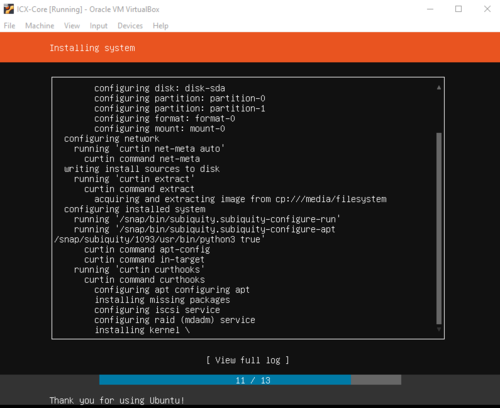
The installation is now running:
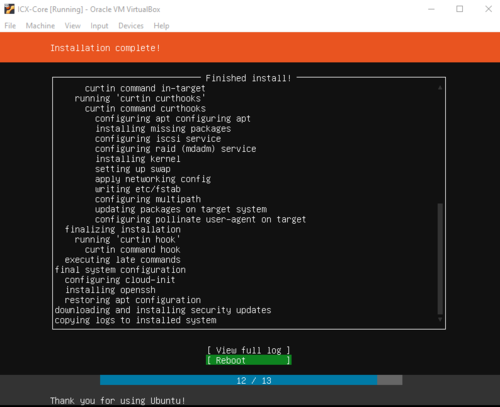
Installation complete! Hit Enter key to reboot:
The virtual machine reboots and starts up with Ubuntu running in terminal mode.
ICX-Core
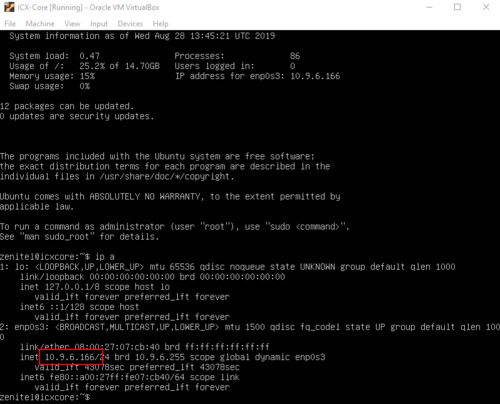
Log in with the username and password defined earlier. Use command "ip a" to see the IP address that the virtual machine has:
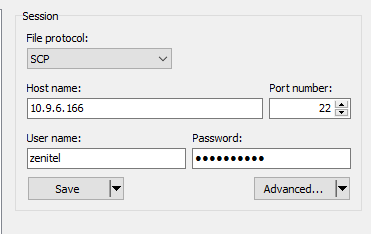
Connect to the virtual machine with WinSCP ...
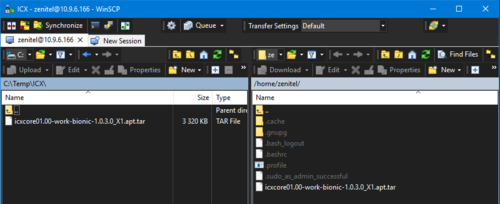
... and copy the ICX-Core installation file from your computer to the virtual machine:
Close WinSCP.
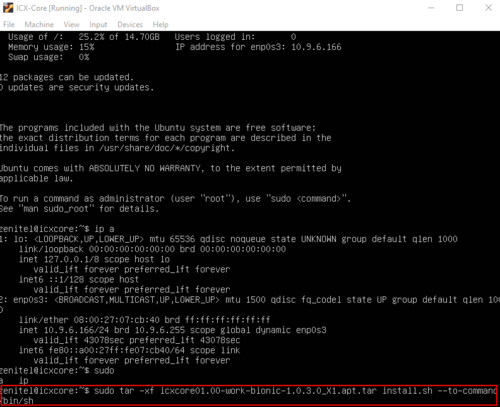
Install ICX-Core using the command (case sensitive):
sudo tar -xf ICX-Core-01.00-bionic-1.2.3.0.apt.tar install.sh --to-command /bin/sh
|
Where ICX-Core-01.00-bionic-1.2.3.0.apt.tar is the ICX-Core file name.
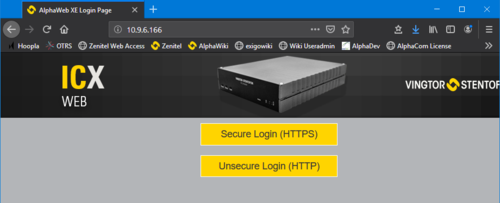
After installation, you can access the ICX Web from any PC in the network by using the IP address of the virtual machine.


