Uploading HTTPS certificate
From Zenitel Wiki
This article describes how to upload a SSL certificate to a Zenitel device for use with HTTPS.
Version 9 and later

|
Enable Advanced Configuration Mode. |
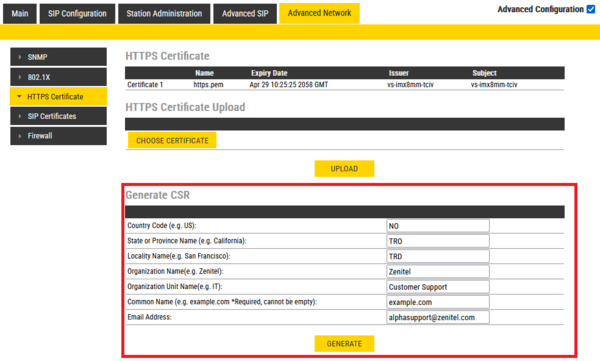
- Select Advanced Network and from the left hand menu select HTTPS Certificates. The current self-signed HTTPS certificate is listed.
- First, generate a Certificate Signing Request (CSR). Enter the required data in each field and click Generate.
 |
| Enter the required information and click Generate |
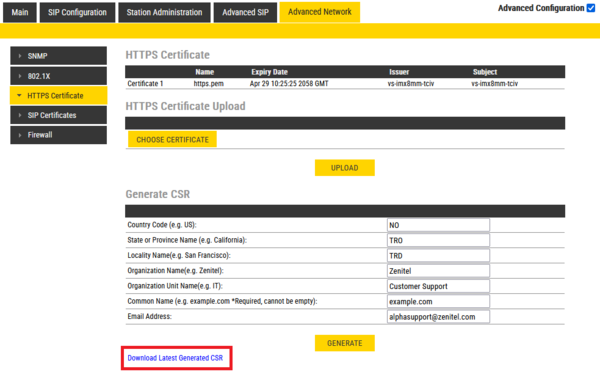
- Download the CSR
 |
| Download the CSR |
- Get a SSL certificate from a certified Certificate Authority (CA) using the generated CSR
- The name of the SSL certificate must be changed to end with _https.pem.
- If there are multiple certificates the last one will always be used.
- Click on Choose Certficate and browse to the location of the SSL certificate. When selected click on the Upload button
 |
| Upload the SSL Certificate |
Version 8 and earlier

|
Enable Advanced Configuration Mode. |
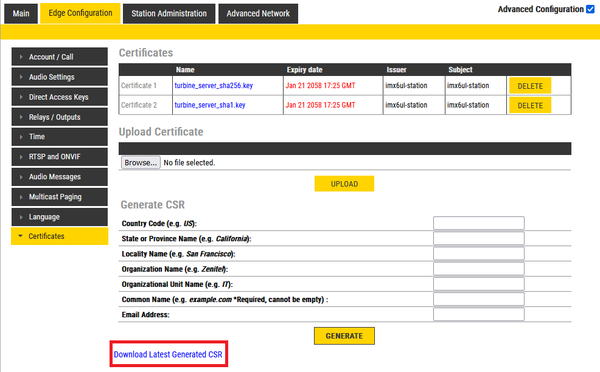
- Select Edge Configuration/SIP Configuration and from the left hand menu select Certificates. The Turbine certificates are listed.
- First, generate a Certificate Signing Request (CSR). Enter the required data in each field and click Generate.
 |
| Enter the required information and click Generate |
- Download the CSR
 |
| Download the CSR |
- Get a SSL certificate from a certified Certificate Authority (CA) using the generated CSR
- The name of the SSL certificate must be changed to end with _https.pem.
- If there are multiple certificates the last one will always be used.
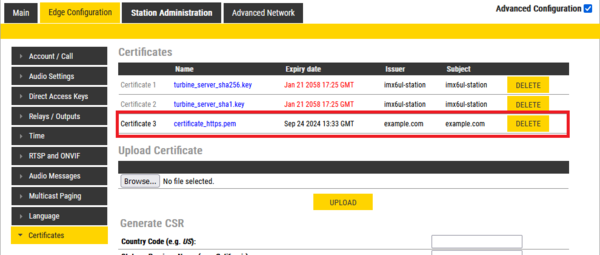
- Click on Choose file and browse to the location of the SSL certificate. When selected click on the Upload button
 |
| Uploaded the SSL Certificate |
