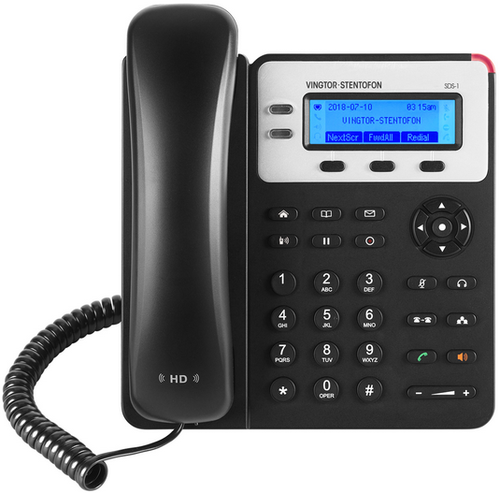
SDS-1
From Zenitel Wiki
Getting Started
Installing the Phone with Phone Stand
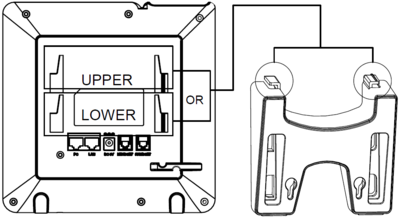
- Insert the hooks on top of the stand into the slots on the back of the phone. (You can either use the upper OR the lower slots)
- Firmly slide the stand upward to lock it in place
Installing the Phone with Wall Mount
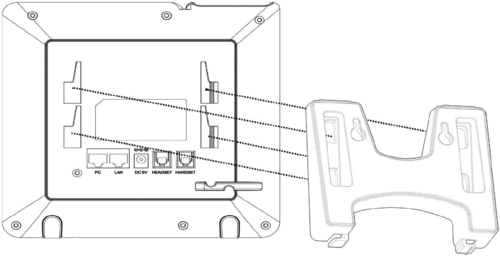
- Insert all 4 hooks located at the front of the wallmount into the slots on the back of the phone.
- Firmly slide the wall mount upward to lock it in place.
- Attach the phone to the wall via the wall mount holes.
- Pull out the tab from the handset cradle (see figure below).
- Rotate the tab and plug it back into the slot with the extension up to hold the handset while the phone is mounted on the wall.
Connecting the phone
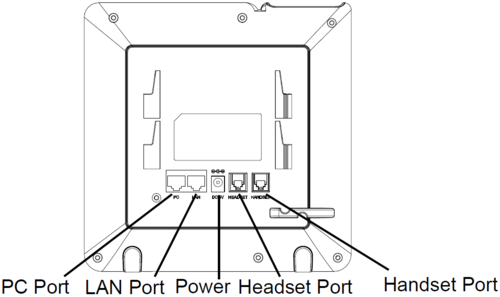
- Connect the handset and main phone case with the phone cord.
- Connect the LAN port of the phone to the RJ-45 socket of a PoE switch using the Ethernet cable. (The LCD will display provisioning or firmware upgrading information. Before continuing, please wait for the date/time display to appear)
- Using the web configuration interface or the keypad configuration menu, you can further configure the phone using either a static IP or DHCP.
Configuration
The IP phone can only operate in SIP mode. Choose one of the links below depending on what kind of server the station should register to.
Dimensions
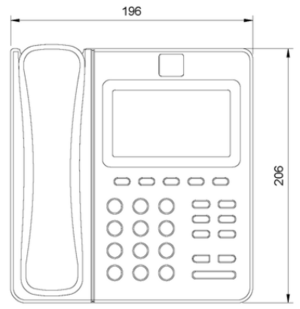
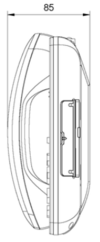
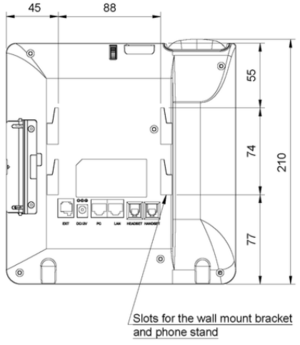
- Phone dimensions
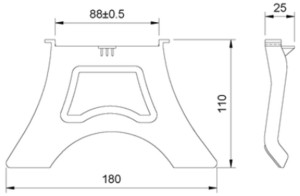
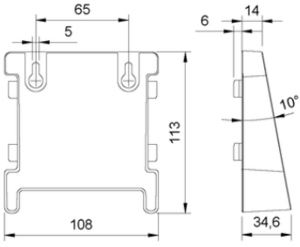
- Bracket dimensions


