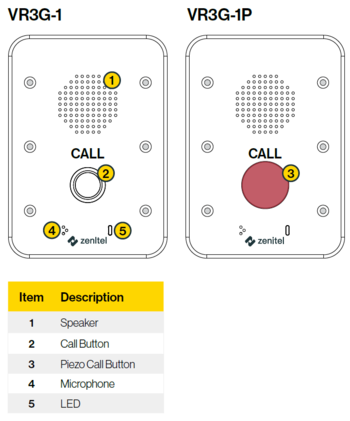
VR3G-1(P) Mounting and Dimensions
From Zenitel Wiki
Installation
VR3G-1 can be powered by PoE. This is done by connecting an Ethernet cable to the LAN port of the station and a PoE switch.

|
If PoE is used, the station must be installed using a shielded Ethernet cable with grounding at the switch end |
If the switch does not support PoE, a 24VDC power supply can be connected to the stations Power Input.
Mounting
Mounting considerations
Check the specification of the product for the installation environment.

|
To ensure the IP66 rating and that nothing can penetrate behind the edge of the intercom, it must be mounted on a surface that is completely planar. |
Flush mounting
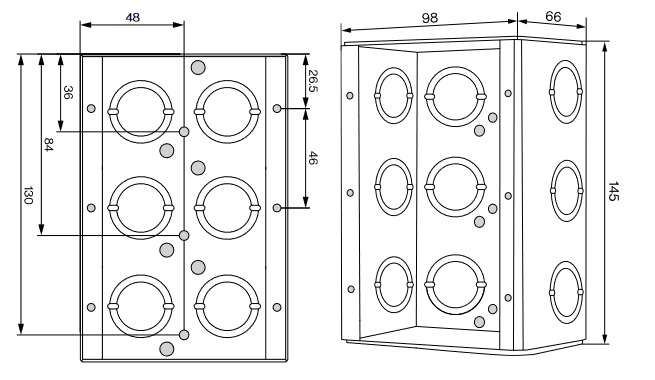
When flush mounting vandal resistant station, use the 3 Gang Flush Mount back box.
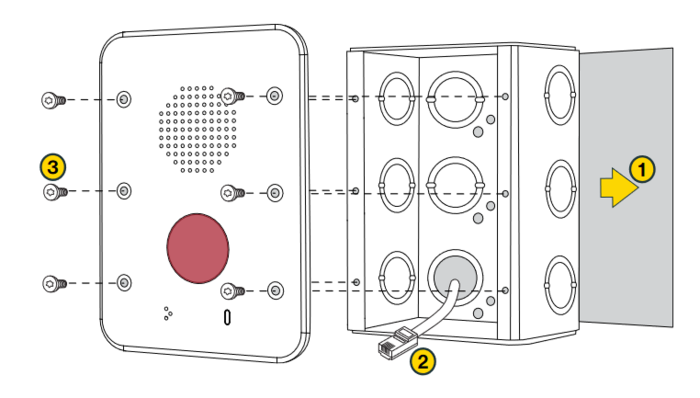
- Ready one of the pre-punched holes in the backbox for power and network wiring.
- Have the necessary cables ready before starting the mounting procedure
- Insert and secure the 3 Gang Flush Mount back box into designated slot in the wall. Make sure that the box is squarely mounted and the front surface flush with the wall surface.
- Plug the Ethernet cable into LAN port on the station. If the switch does not support PoE, a 24VDC Power Supply can be connected to the stations Power Input.
- Mount the Vandal Resistant Station onto the back box with the 6-32 UNC X ¾ fasteners provided. Apply 1.5 Nm / 1.1 lb-ft torque.
Dimensions
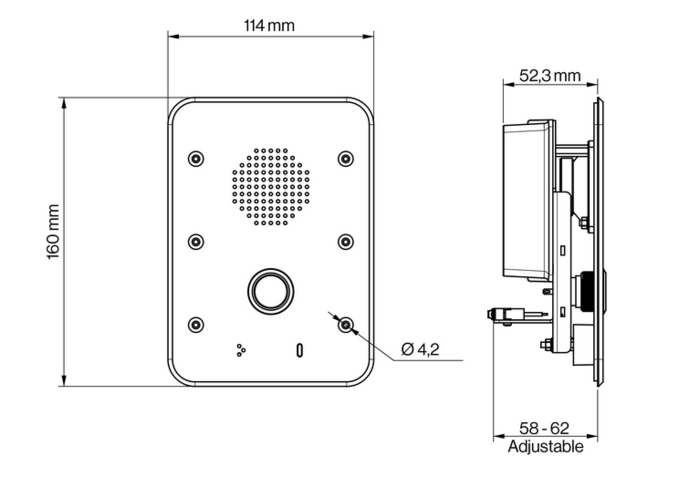
- Dimensions (HxWxD): 160x114x60mm
- Dimensions after flush mount: 160x114x5mm
Return to Vandal Resistant intercom - VR3G-1


