TKIS Dimensions & Mounting Instructions
From Zenitel Wiki
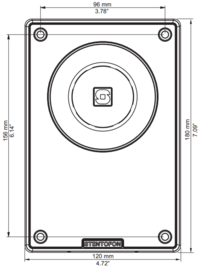
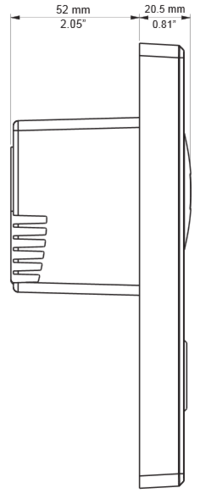
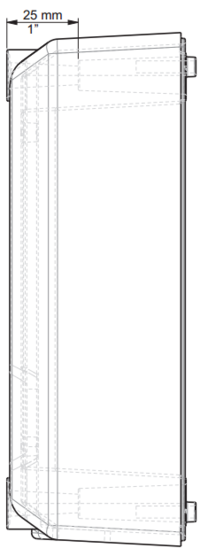
| Dimensions (WxHxD) | Weight | |
| TKIS-2 | 65 x 80 x 25 mm | 0.1 kg |
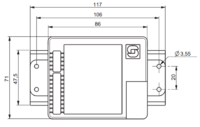
TCIS Compact Station Dimensions
TKIS-2 Dimensions
Onwall Surface Mounting
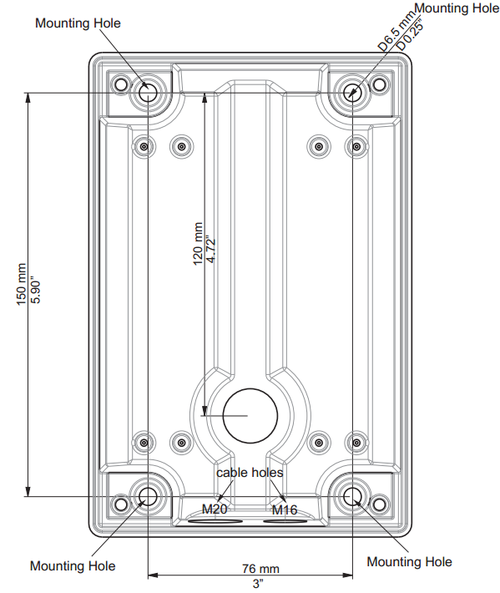
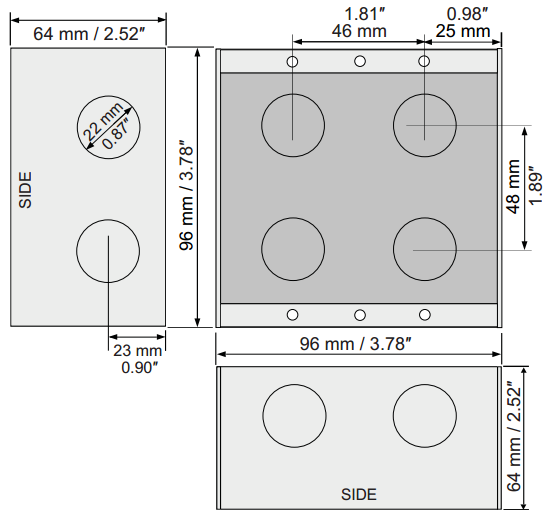
On-Wall Surface Mount Back Box - TA-1
Mounting holes are to be drilled as shown.
Max. recommended screw diameter: ISO M6 or ANSI 1/4". Screw length must be greater than 25 mm or 1". A4 stainless steel socket head screws/bolts are recommended. Max. recommended screw head diameter: 9.5 mm or 3/8".
Optional nylon washers for extra protection against corrosive effects between surfaces are provided. They should be placed at the bottom of the mounting holes. Grommets and an M20 cable gland are provided.
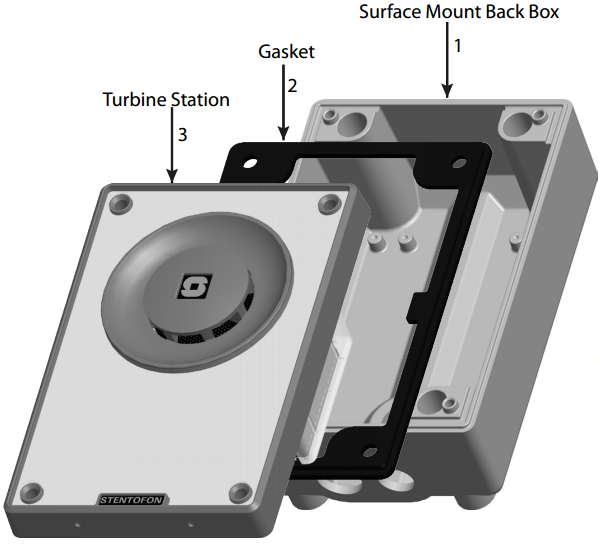
On-Wall Surface Mounting Procedure
- 1. Mount the back box onto the wall
- 2. Fit the gasket onto the back box with the ridged side facing down
- –Plug the Ethernet cable into the RJ-45 port on the station
- 3. Mount the Turbine station onto the back box with the M5 fasteners provided
Note! Use the grommets and M20 cable gland provided for the cable holes on the back box
Flush Mounting
Flush Mount 2-Gang Back Box - TA-3
Note! It is recommended to utilize back boxes with weep holes at the bottom
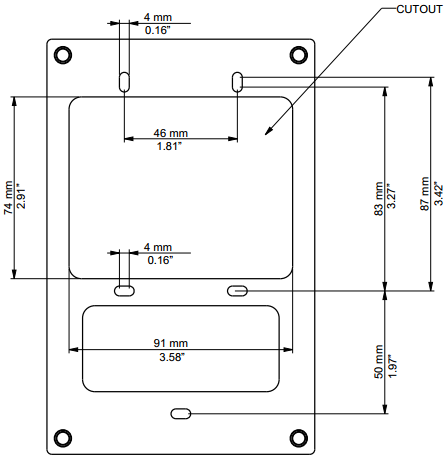
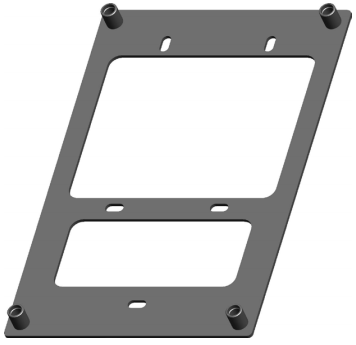
Flush Mount Bracket - TA-5
Fits US 2-GANG electrical boxes. Recommended screw diameter: up to M4 (5/32"). Use screw recommended by back box manufacurer.
Note! The TA-5 Bracket is mandatory for flush mounting.
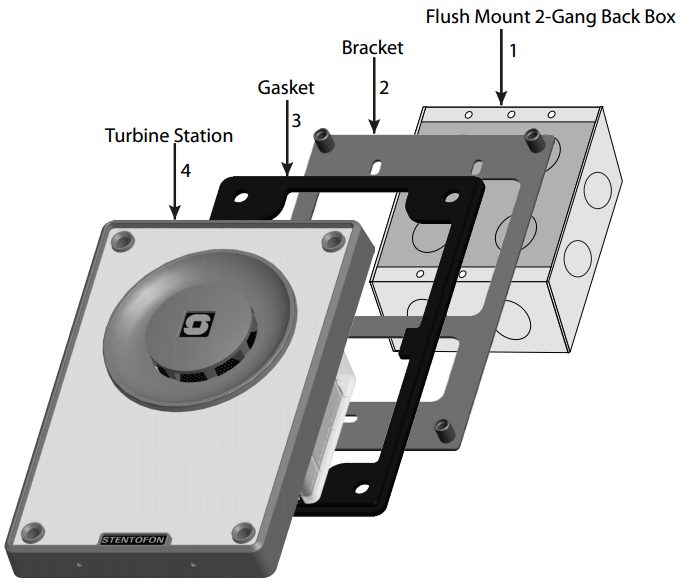
Flush Mounting Procedure
- 1. Mount the 2-gang back box into the wall
- 2. Mount the bracket onto the back box
- 3. Fit the gasket onto the bracket with the ridged side facing down
- –Plug the Ethernet cable into the RJ-45 port on the station
- 4. Mount the Turbine station onto the bracket with the M5 fasteners provided


