ICX-AlphaCom Core in Hyper-V
From Zenitel Wiki

This article describes how to install ICX-AlphaCom Core in a Hyper-V environment.
Prerequisites
- Windows Server or Windows 10 with the Hyper-V feature installed.
- Operating System:
- Ubuntu 22.04.x LTS Server for ICX-AlphaCom version 1.2.3.9 and later (Mandatory): http://releases.ubuntu.com/22.04/
- Ubuntu 18.04.x LTS Server for ICX-AlphaCom version 1.2.3.8 and earlier - note that there is no support for Ubuntu 18.04 anymore
- File transfer software: WinSCP (version 5.15.3 used in this guide): WinSCP https://winscp.net/eng/index.php
- ICX-Core software: ICX System

|
The virtual machine must have an internet connection and valid DNS server during the installation process |
Hyper-V Manager
Run the Hyper-V Manager:

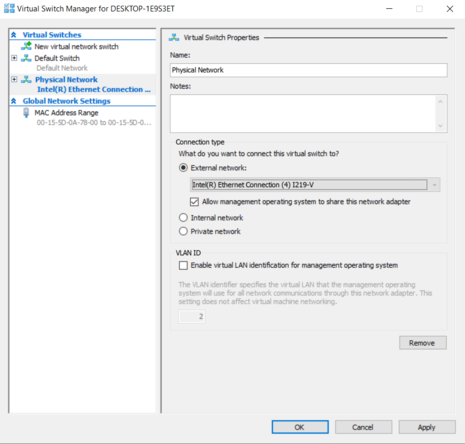
First, we need to create an External Network Adapter. From the Actions tab, choose Virtual Switch Manager:
Select External and press Create Virtual Switch

Connect this new Virtual Switch to the External Network by choosing the correct network adapter and giving it a name. If you have more than one network adapter, be sure to identify the correct one and click OK.
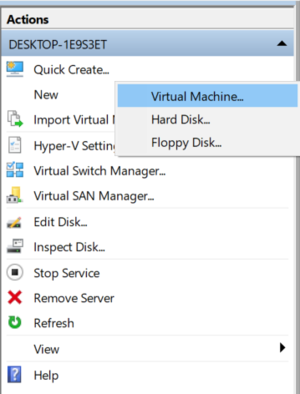
Now, we can create a New Virtual Machine. Click New and select Virtual Machine from the Actions tab.
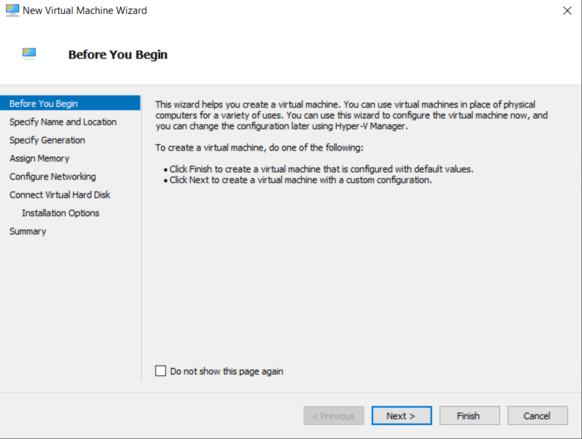
Click Next.
Give the new Virtual Machine a name, and choose where you should store this VM.

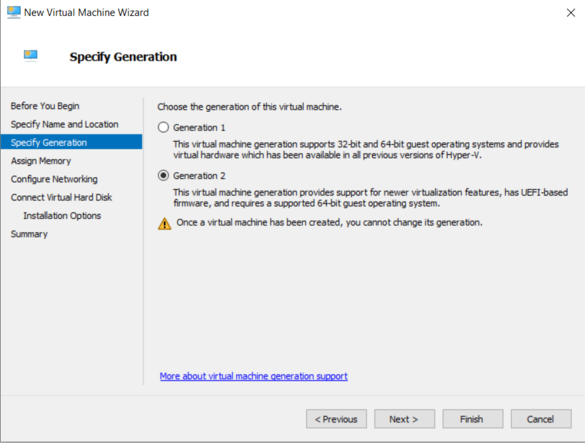
Select Generation 2 as the Generation of the Virtual Machine
Specify 1024MB as the RAM required for the Virtual Machine, and disable Dynamic Memory

Connect your new Virtual Machine to the Default Switch for Hyper V. We will add the new External Network to the Virtual Machine in a later step.

Create a new Virtual Hard Disk and give it a size of 15GB

Attach the Ubuntu .ISO installation media to the Virtual Machine for it's first boot.
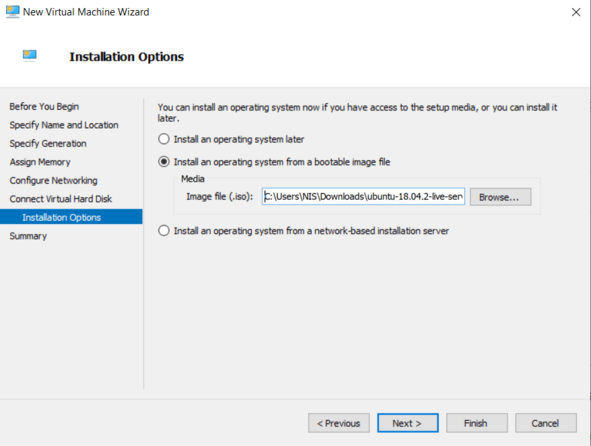
Check the summary of options and click Finish.

Now we need to configure the final options prior to booting the Virtual Machine. Right-Click on your newly created Virtual Machine and choose Settings.

Under Security, disable Enable Secure Boot

Click Add Hardware, and select Network Adapter and press Add
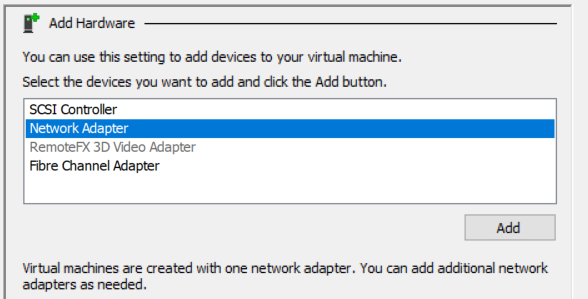
Choose the External Network Virtual Switch created in the first steps and click OK.
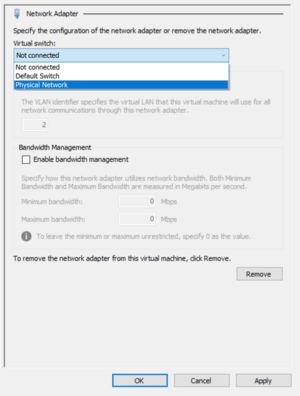

|
Before starting the virtual machine, delete the Network Adapter named "Default Switch". You must use only the network adapter you created |
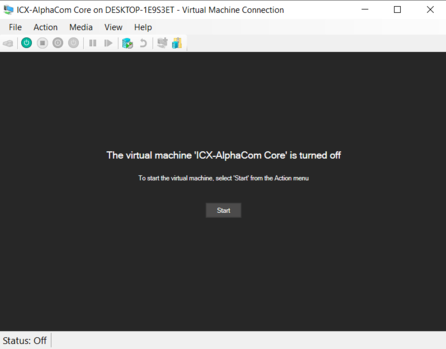
Time to start your Virtual Machine. Double-Click on your new Virtual Machine, and press Start in the window.
Ubuntu
The Ubuntu installation will automatically launch after Start in the previous section. Note that while the screen captures are from VirtualBox, the process remains the same for Hyper-V
Choose your language:

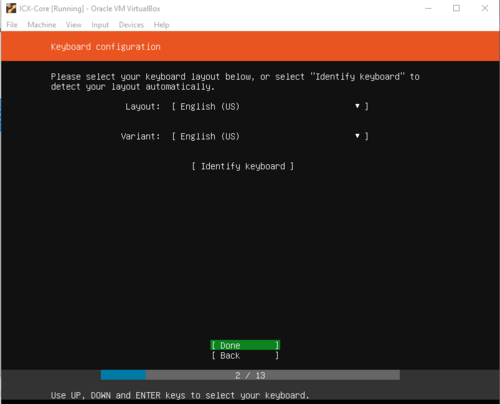
Define your keyboard:
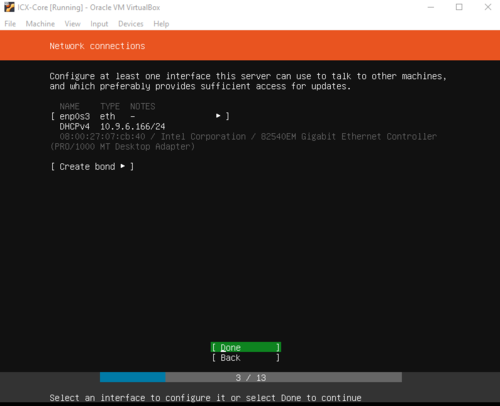
Confirm the network adapter:
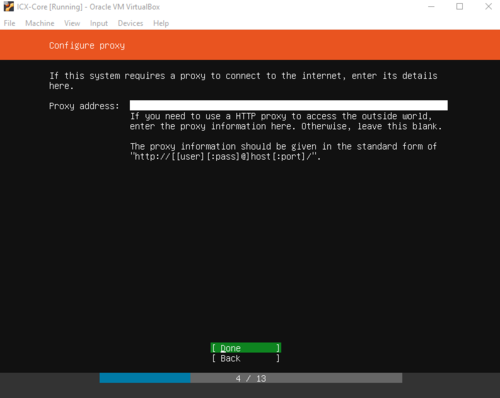
Enter Proxy if needed:
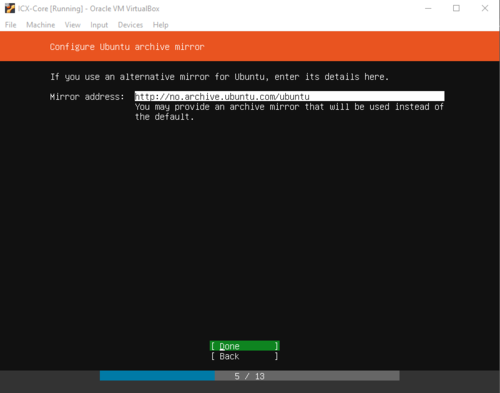
Confirm mirror:
Filesystem:
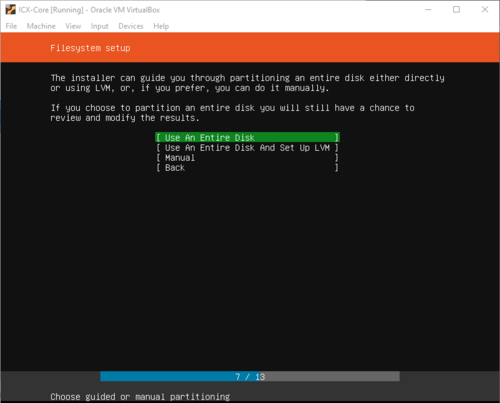
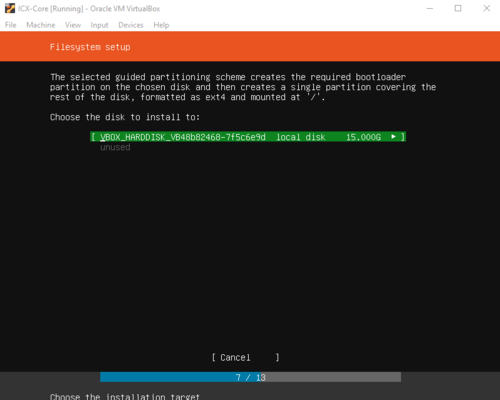
Select HDD:
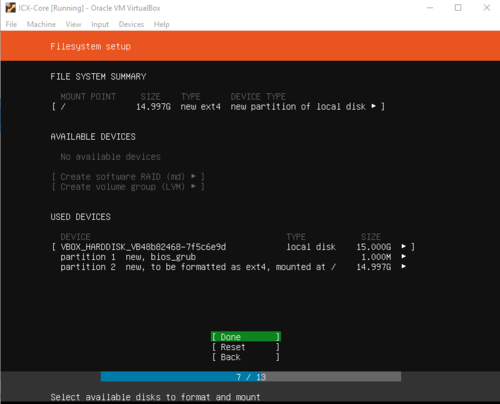
Confirm partition:
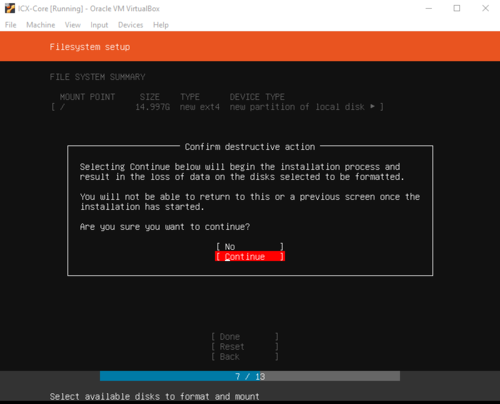
Confirm installation:
Enter profile and credentials. VERY important to not forget this. Write it down!:
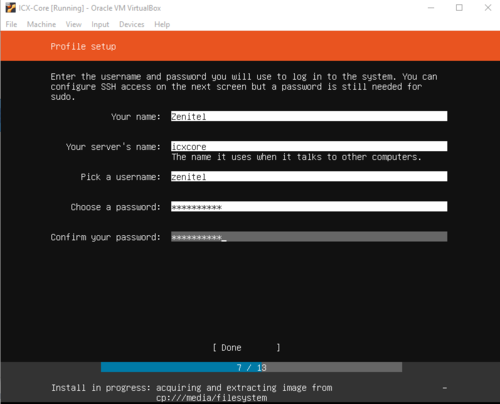
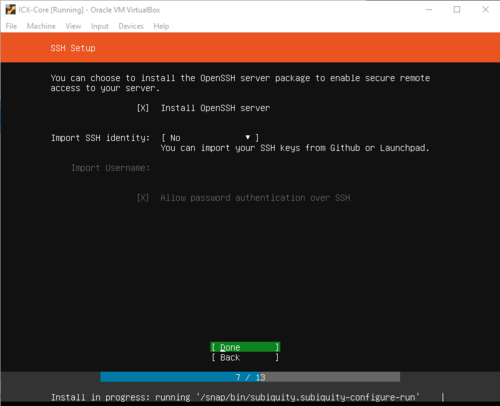
Select Install OpenSSH server:
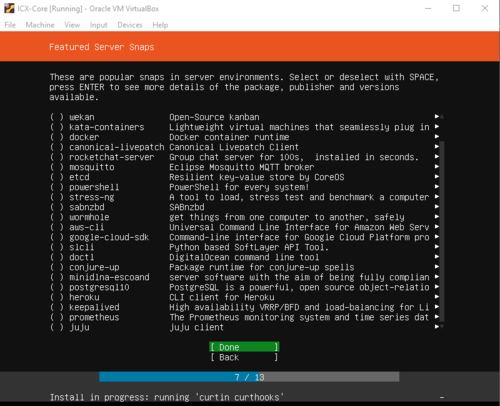
Skip:
The installation is now running:
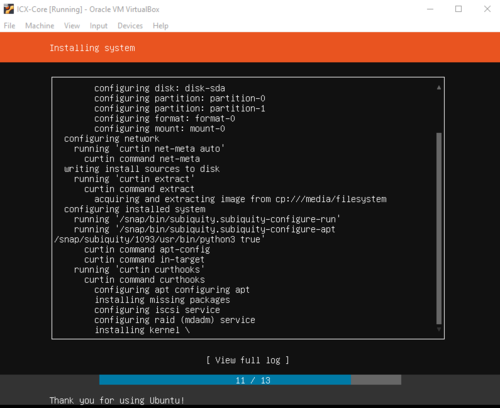
Installation complete! Hit Enter key to reboot:
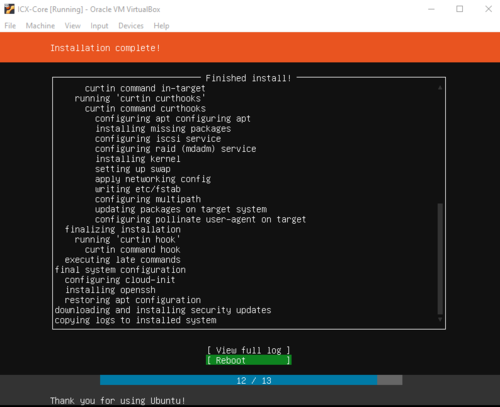
The virtual machine reboots and starts up with Ubuntu running in terminal mode.
ICX-AlphaCom Core
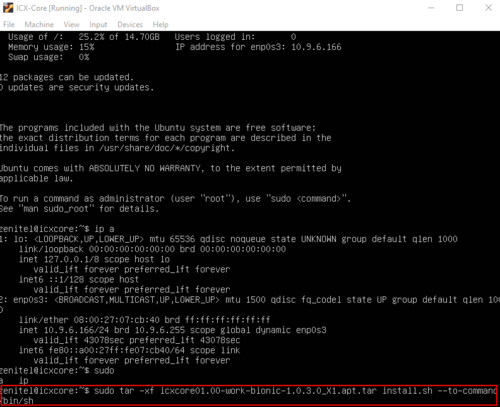
Log in with the username and password defined earlier. Use command "ip a" to see the IP address that the virtual machine has:
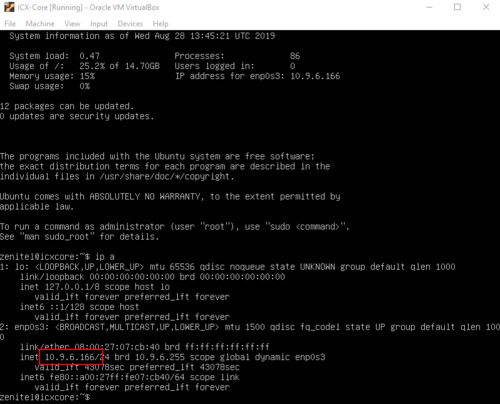
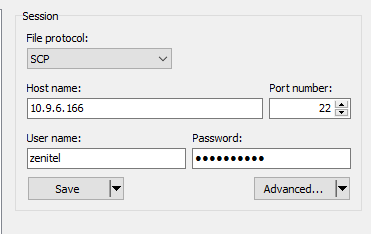
Connect to the virtual machine with WinSCP ...
... and copy the ICX-AlphaCom Core installation file from your computer to the virtual machine:
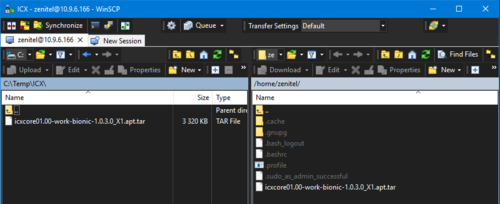
Close WinSCP.
Install ICX-AlphaCom Core using the command (case sensitive):
sudo tar -xf ICX-Core-01.00-bionic-1.2.9.3.apt.tar install.sh --to-command /bin/sh
|
Where ICX-Core-01.00-bionic-1.2.9.3.apt.tar is the ICX-Core file name.
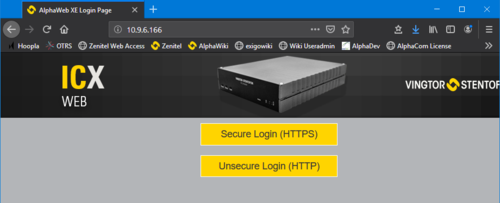
After installation, you can access the ICX Web from the Host PC by using the eth0 IP address of the virtual machine.
If your Hyper-V system is Headless, and you cannot access the Web Interface from the Default Network Adapter, use the following command to enable port 80 on eth1. Don't forget to enable the correct filters in the AlphaWeb once you login as this setting will be overwritten by the ICX-AlphaCom Core system on reboot.
sudo iptables -A INPUT -i eth1 -p tcp -m tcp --dport 80 -j ACCEPT
|
