Software House C•CURE 9000 v3.00 Zenitel Connect Pro Integration
From Zenitel Wiki
Introduction
This manual provides step-by-step instructions for integrating Zenitel Connect Pro with CCURE9000 v3.00. The integration process involves setting up the database, installing necessary client software, and configuring the connection within the CCURE9000 interface.
Licensing
The integration is licensed from Software House and Zenitel.
Software House
1 integration license per server connection is required in addition to the normal CCure9000 licenses. The Software House license is available from Software House under product code CC9000-ZENCPRO.
Zenitel Connect Pro
1 integration license, 1002720900 ZCL-API, is required per server connection.
Prerequisites
Before you begin the integration process, ensure you have the following:
- Administrator access to CCURE9000 v3.00
- The latest version of Zenitel Connect Pro
- Database access for setup
Installation Process
Database Setup
1. Run the Zenitel Connect Pro Installer
- The installer will check for an existing database.
- If a database is found, the necessary tables for the integration will be written automatically.
- If no database is found, the installer will proceed to install a client version of the database.
2. Database Installation (if required):
- Follow the on-screen instructions to install the client version of the database.
- Ensure all installation steps are completed successfully.
3. Verify Installation:
- Confirm that these database tables required for the integration have been created:
- ConnectProServer
- ZenitelOperator
- Intercom
Configuring the Zenitel Connect Pro Connection
1. Create a Zenitel Link User:
- Each client needs to create a Zenitel Link user. To do so, follow these steps:
- Open your browser and enter the IP Address of Zenitel Connect Pro.
- Navigate to the "System" section.
- Select "Users".
- Click on the plus icon, then set the username, role, and password for the Zenitel Link user.
2. Configure CCURE9000:
- Log in to your CCURE9000 system.
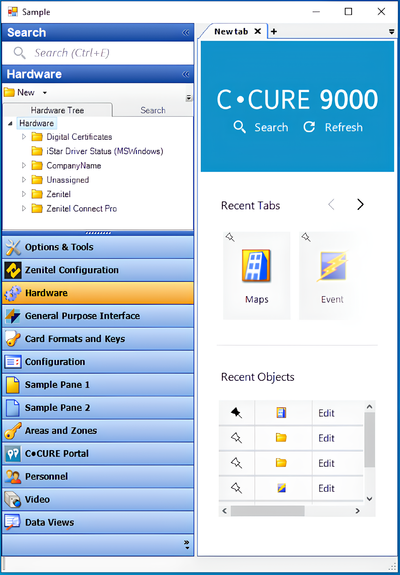
- Navigate to the Hardware Tree within the CCURE9000 interface.
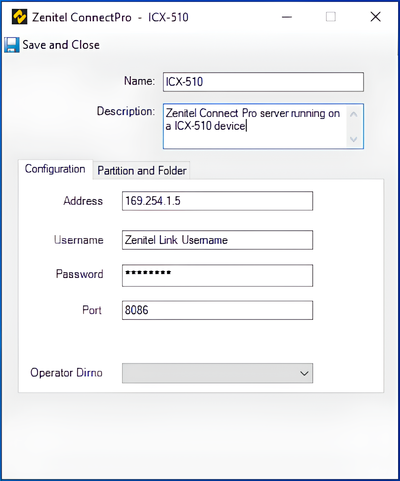
- Right-click on the desired location in the Hardware Tree and select “Zenitel Connect Pro”.
- Enter the necessary connection details (e.g., IP address, port number, credentials) and save the configuration.

|
The IP address is the same as the one used to access the web interface. The only viable port number is 8086. |
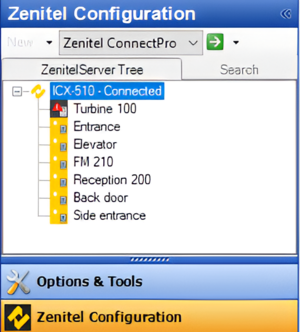
- Ensure the connection to Zenitel Connect Pro is successfully established by opening the Zenitel Configuration pane.
- The software will automatically detect and populate the Zenitel Connect Pro node with the connected devices and assign the appropriate icon depending on the status of the device.
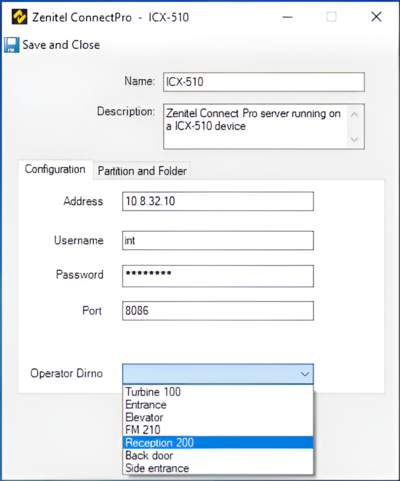
- After the connection has been established and the device list is populated, select one of the devices that is used as the operator's station (All calls made from the CCURE9000 system will be established with the selected operator directory number).
Operational Information
Establishing and Answering Calls
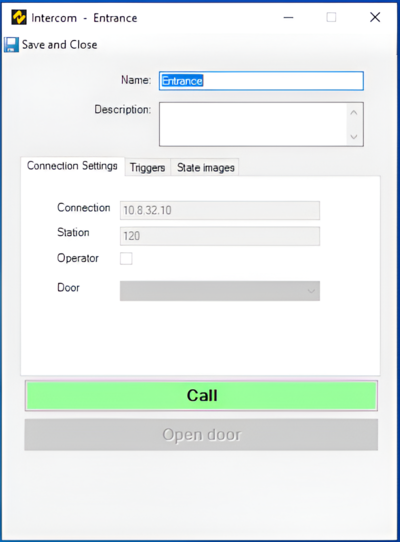
1. Establishing Calls:
- Select the desired intercom device from the Zenitel Connect Pro node in the Hardware Tree or Zenitel Configuration pane.
- Use the CCURE9000 interface to initiate a call to another device or location.
- Monitor the call status and ensure clear communication.
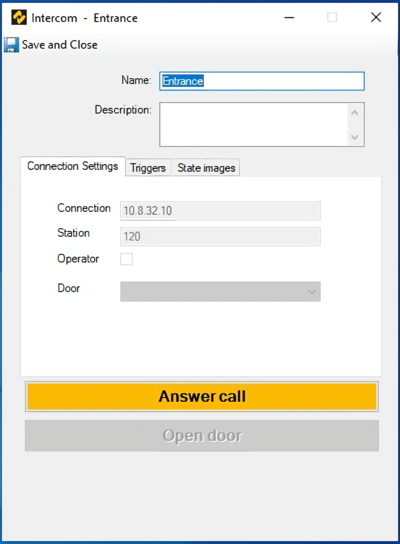
2. Answering Queued Calls:
- Navigate to the intercom within the CCURE9000 interface.
- Select the queued call you wish to answer.
- Use the interface to connect the call and communicate with the caller.
Using the Map Interface
1. Dropping Intercoms on the Map:
- Access the map interface in CCURE9000.
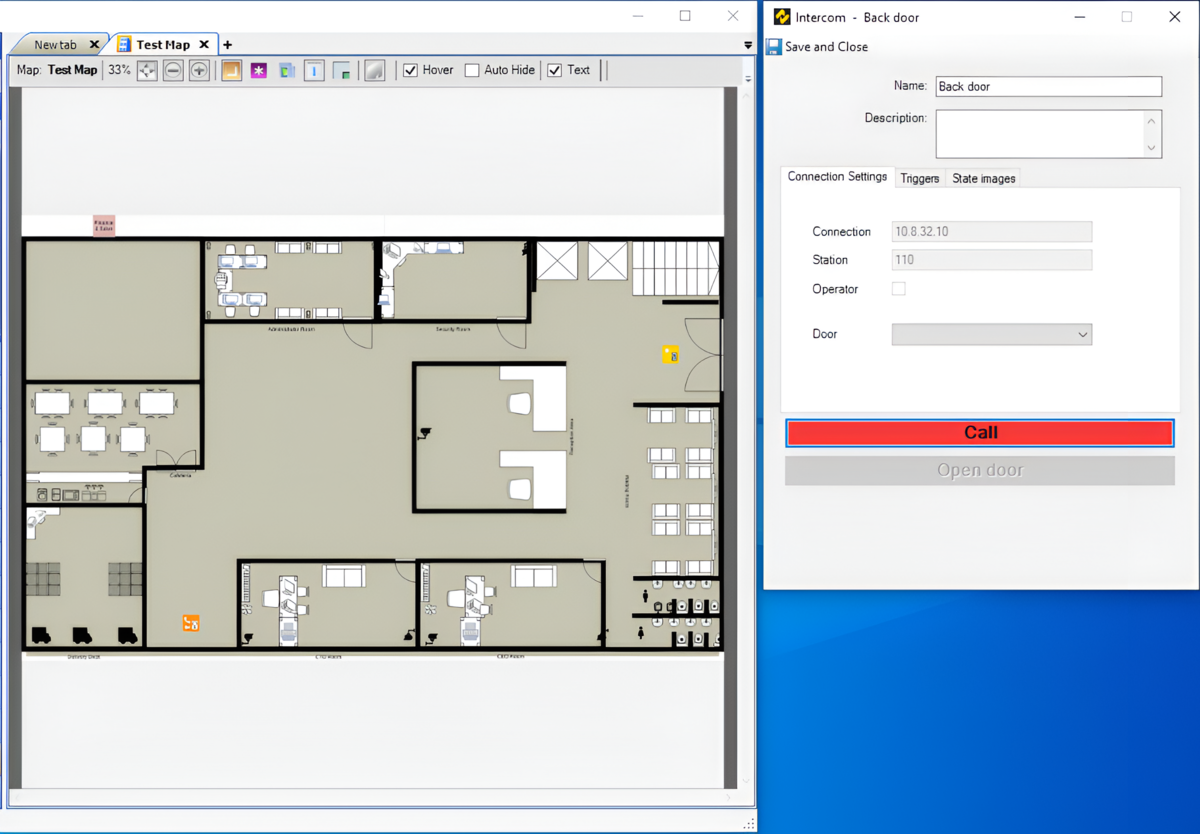
- Drag and drop the detected Zenitel intercom devices onto the map at their physical locations.
- This allows for a visual representation of device locations for easy access and management.
2. Interacting with Intercoms via the Map:
- Click on the intercom icons on the map to access device controls.
- You can initiate calls, view device status, and perform other actions directly from the map interface.
Controlling Door Access
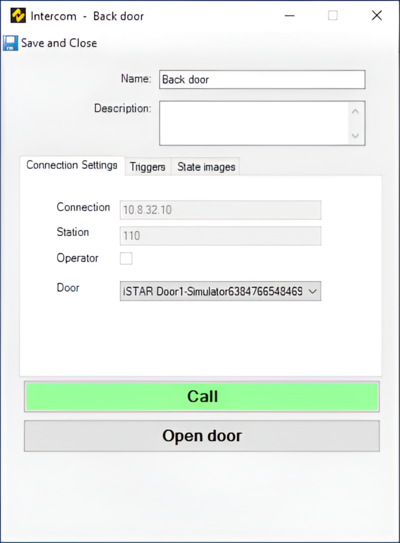
- Select the intercom device and associate a door you wish to control.
- Use the CCURE9000 interface to send an open command to the door.
Verifying the Integration
1. Check Device List:
- Verify that all expected Zenitel devices are listed under the Zenitel Connect Pro node in the Hardware Tree.
- Ensure that each device’s status is correctly displayed.
2. Test Device Functionality:
- Conduct tests to confirm that each Zenitel device is functioning as expected within the CCURE9000 system.
- Verify communication, alarms, and any other configured functionalities.
Troubleshooting
If you encounter any issues during the integration process, consider the following steps:
- Check Database Connection to ensure the database connection is correctly configured and active.
- To verify connection details double-check the IP address, port number, and credentials entered during the Zenitel Connect Pro connection setup.
- Restart both the CCURE9000 and Zenitel Connect Pro services to resolve any temporary issues.


