Video Desktop Display module upgrade
From Zenitel Wiki
This procedure is about upgrading the software in the LCD screen only.
Updating the firmware
- Download the firmware, e.g. 20161115_StentofonIpDesktopVideo_Fw24.zip, and extract the zip file
- Log in to the web interface of the LCD screen, and click on System.
- In the category Firmware Update, click on Browse and select the firmware file. The file has the extension .bin. E.g. 20161115PL_v11_FW_v24_StentofonIPDesktopVideo.bin
- Click on Upload and wait for the upload to finish.
- When the upload is finished the LCD screen will automatically reboot.
Updating the file system (user interface and web interface) using File System Updater application
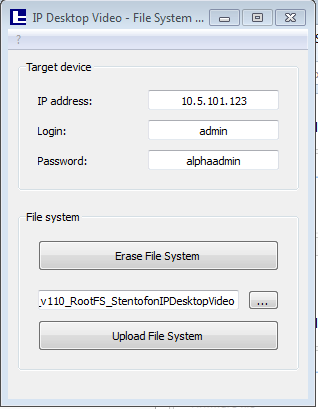
To update the file system to a newer version, use the PC application IP Desktop Video –File System Updater which comes with the software package.
- Download the software
- Start the IP Desktop Video –File System Updater application by executing the file IPDesktopVideoFSUpdater.exe
- Enter the IP address of the LCD screen, and the login (admin) and password (alphaadmin) of the LCD screen.
- Click on the "…" button and navigate to the folder containing the new file system, e.g. 20160415PL_FW_v22_RootFS_StentofonIPDesktopVideo.
- Select the folder of the new file system and click Ok.
- Click on the Erase File System button and wait for the station to reboot.
- After the reboot click on Upload File System and wait for the process to finish. This may take a few minutes.
- When the update is finished, the station will reboot with the new file system.
Updating the file system (user interface and web interface) using WinSCP
Currently there is a problem with the "Stentofon IP Desktop Video - File System Update Tool" on some PCs. If the update with the update tool is not working there is a workaround using WinSCP. The procedure is identical to that used in the update tool, but the FTP upload is handled by WinSCP. For this you have to download WinSCP.
Update procedure:
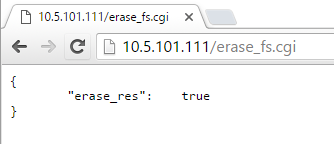
1. Open a web browser and call the "erase_fs.cgi" function of the station.The station should return erase_res = true and then restart.
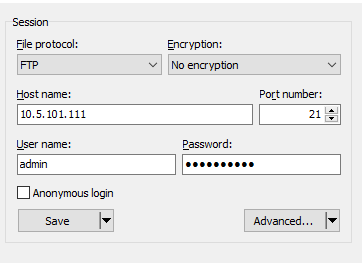
2. When the station has restarted, start the WinSCP application. Change the "File protocol" to FTP, enter the IP address, username and password (default: admin/alphaadmin) for the station and click on login.
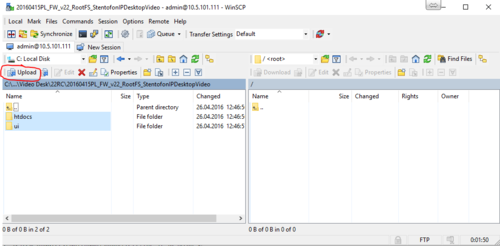
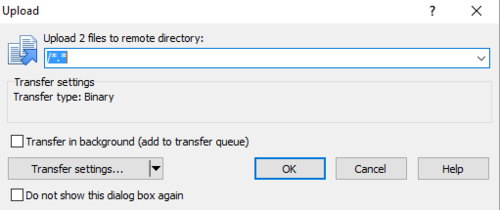
3. In the left window navigate to the folder containing the file system you wish to upload, select the folders "htdocs" and "ui" and click on "Upload".
4. Click on "OK".
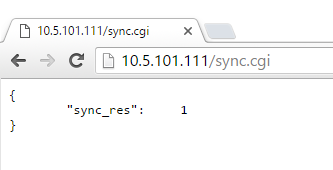
5. When the file upload has finished, switch to the web browser and call the function "sync.cgi" of the station. The station should respond with sync_res = 1.
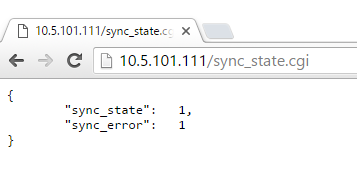
6. Now call the function "sync_state.cgi" to check if the synchronization has finished. If the station returns sync_state = 1 and sync_error = 1, synchronization was successful and after a reboot the station should be fully operational. If it returns a value other than 1 for sync_state, synchronization is still active. Just wait a few seconds and call the function "sync_state.cgi" again. If the station returns a value other than 1 for sync_error, synchronization failed and you should try again, beginning with step 5.


