IP Flush Master - 1008031000
From Zenitel Wiki
Highlights
- Made for Critical Communication over IP - CCoIP® for use in any environment requiring fast and efficient communications
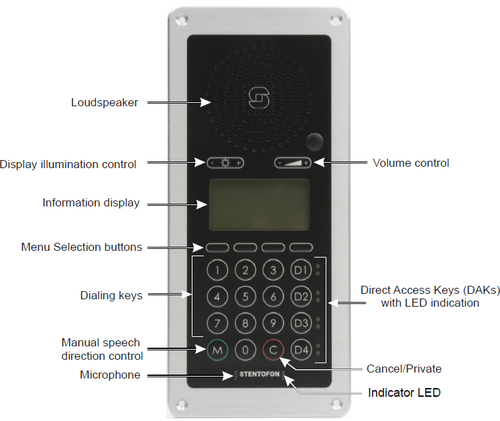
- Robust aluminium front plate to withstand maintenance
- Large high contrast display with backlight for excellent readability
- Four dynamic navigation keys and four DAK keys for quick access to system menus and directory entries
- White light behind all keys for excellent readability in dark environments
- Integrated data switch with advanced networking and security functions
- Clean relay output contact for control of external equipment
InterCom connections
Main Setup
Configuration
- IP Station Configuration
- CRM V - Control Room Master
- VLAN (IEEE 8021Q)
- Network Access Control (802.1X)
- Noise Reduction
- Voice Activity Detection (VAD)
Software Upgrade
LED Indications
Dimensions
Reset to factory settings
Board Connectors
Additional Documentation on Zenitel.com
Related articles
- 1008097100 - Handset for IP Flush Masters
- 1008097500 - Gooseneck Microphone Kit
- 1008010100 - IP DAK-48 Unit
- 1008098700 - Flush Master Back Box
- 1008098800 - Backbox for handset
Getting Started
Configuration
The station can operate in three different modes, depending on what kind of server the station should register to. Choose one of the links below according to what mode you need to configure.
- IP Station Configuration - AlphaCom mode
- IP Station Configuration - SIP mode
- IP Station Configuration - Pulse mode


